Our newly relaunched DeFi Swap offers users the opportunity to exchange thousands of tokens with low fees and at great rates. Let’s take a look at how you can make the most out of it!
Table of Contents
Step 1. Set up your transaction
First, go to changelly.com and switch to the DeFi Swap tab. You will see an exchange widget similar to the one we use on both our fiat marketplace and centralized exchange.

Since you’re swapping tokens, you will need to select the network your exchange will go through Ethereum, BSC, Avalanche, Polygon, Fantom, and Optimism networks are all available for our users to choose from.
Click on the respective tickers to select the tokens you want to trade and enter the amount you’d like to spend. Click the “Exchange now” button to proceed.
Step 2. Connect your wallet
Next, you will be redirected to the main page of our DeFi Swap. Here, you can review your transaction and see its routing. Routing is the path that the assets take when being traded — meaning, what liquidity pool(s), like Uniswap, SushiSwap, and so on, will be used to carry out the transaction.

You can also switch to the advanced mode by selecting the appropriate function in the settings. This way, you can see a historical price chart and a more detailed view of routing.
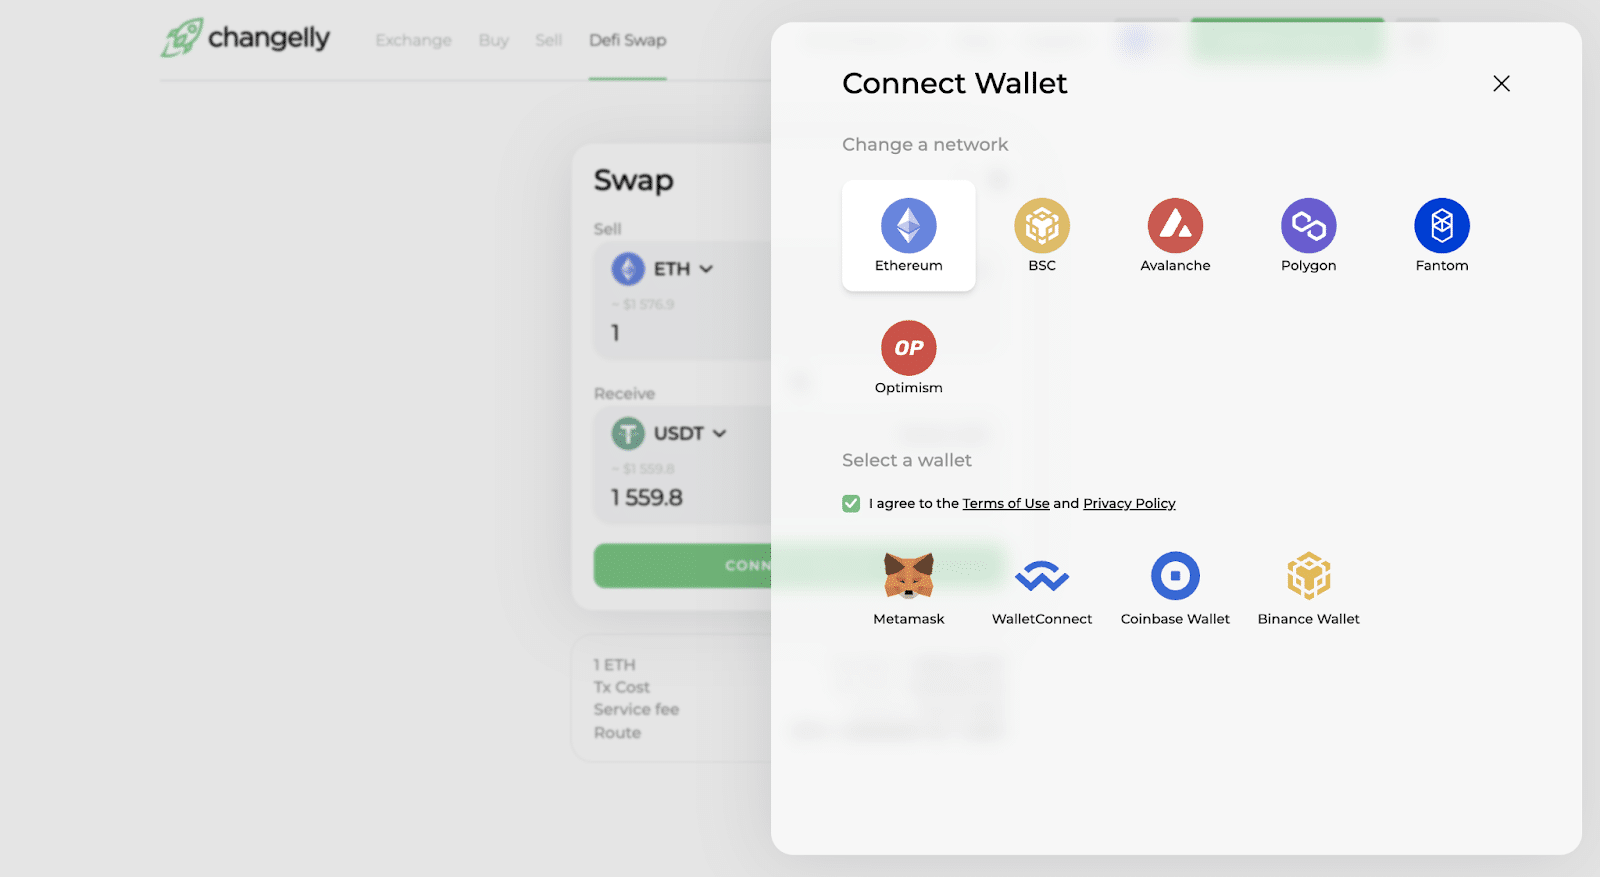
To initiate the transaction, you will need to connect your wallet to our platform. Check the “I agree to the Terms of Use and Privacy Policy” box and select your crypto wallet app.
MetaMask
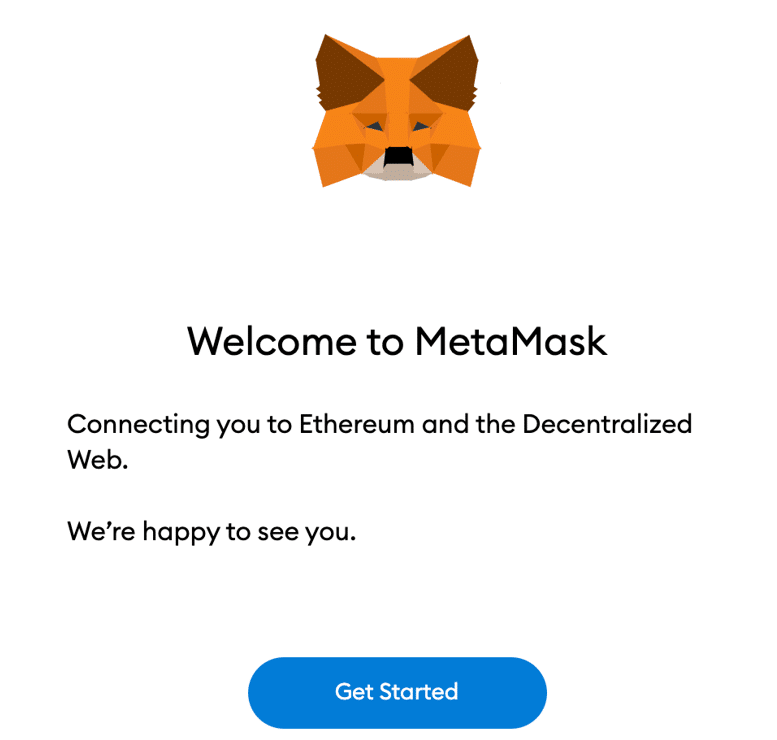
To use MetaMask, you will need to either install its browser extension or use WalletConnect since you cannot directly connect your MetaMask mobile app to our platform. If you don’t have the browser extension yet, you will see a prompt to install it — click on the highlighted word (“here”) to be redirected to the download page.
Once you get the extension, click the “Connect your wallet” button to launch the MetaMask web app.
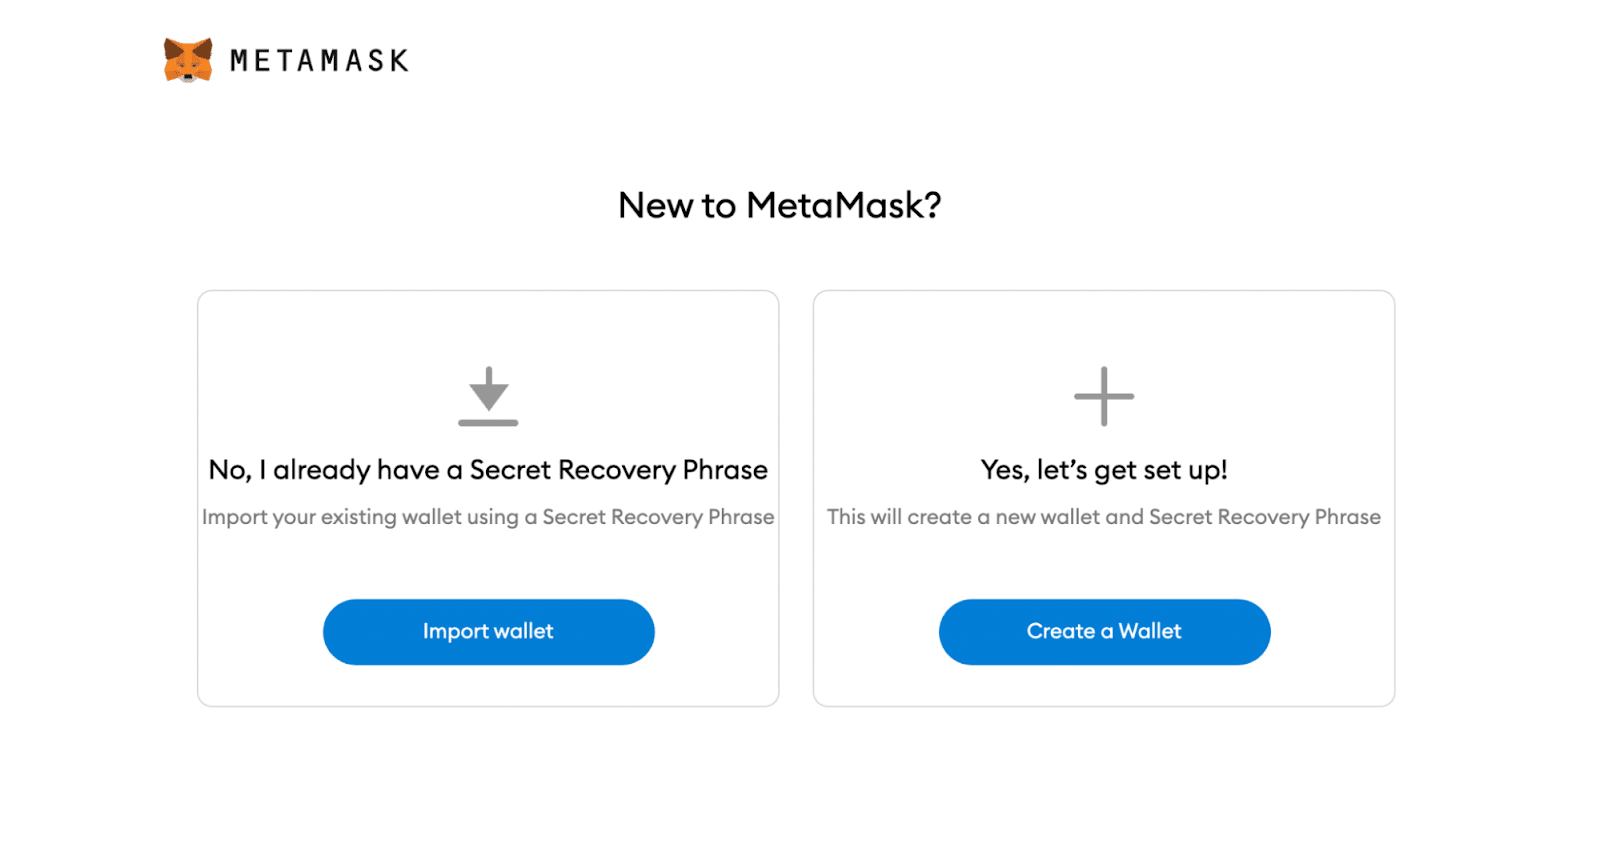
Follow the onscreen instructions to proceed. You will have the option to either import your existing wallet or create a new one. If you pick the former option, you will need to enter your security phrase and create a new password.
Afterward, go back to Changelly. Click the “Connect your wallet” button again to get the option to connect your MetaMask account to Changelly DeFi Swap.
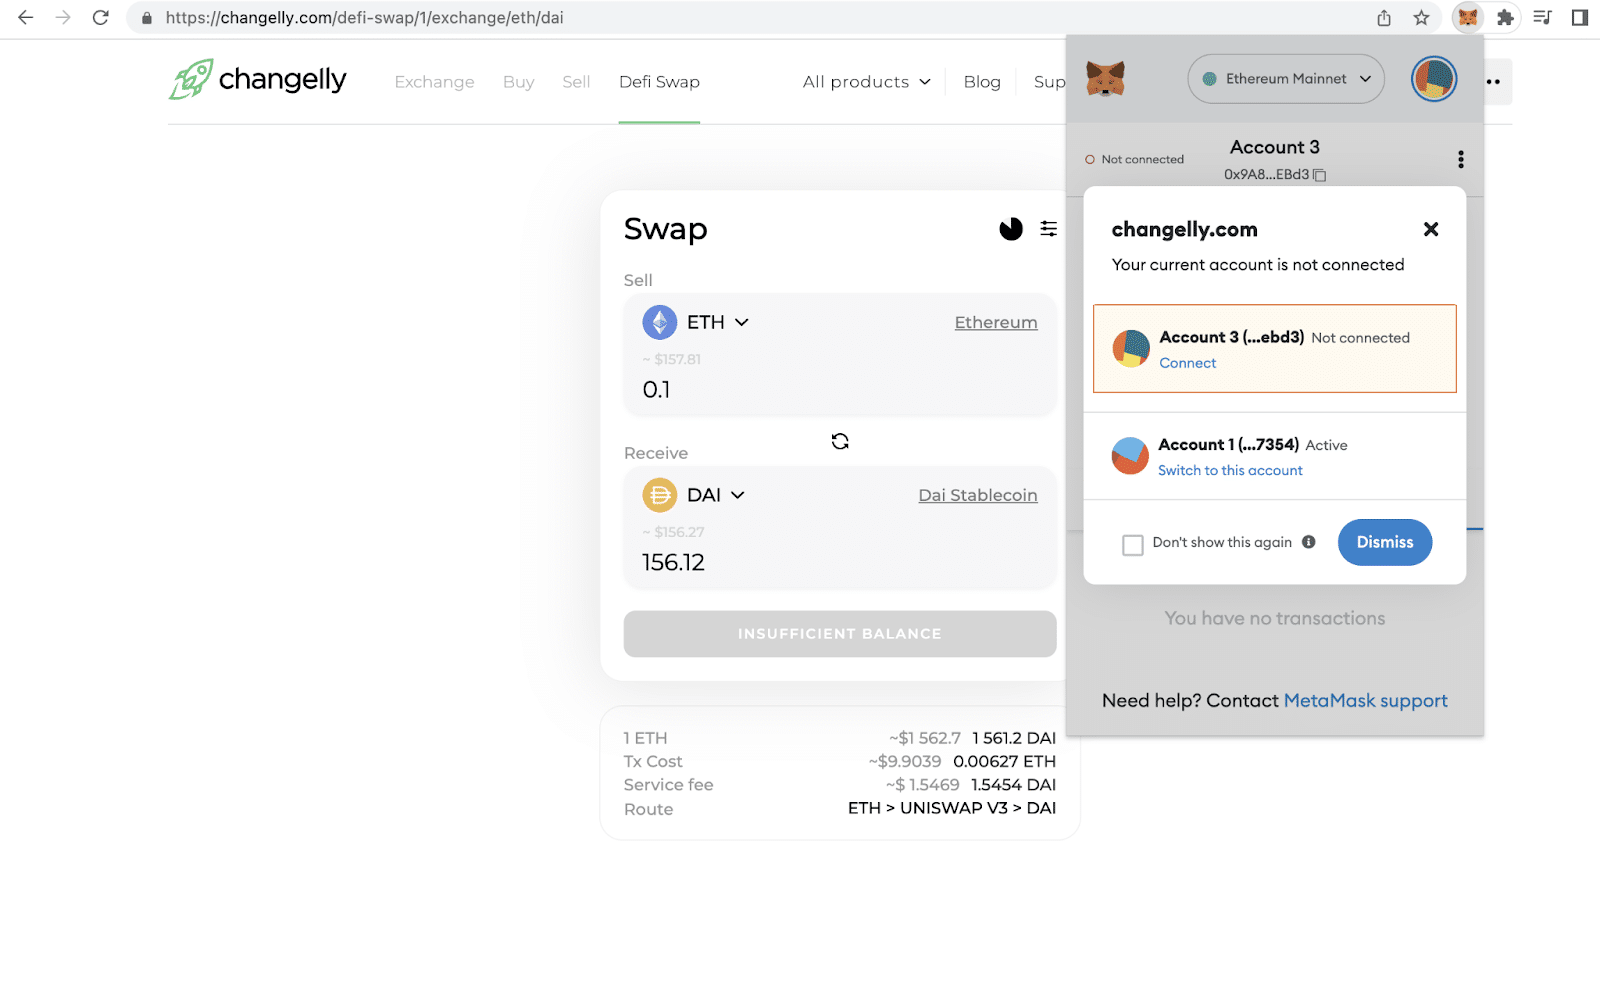
Select the MetaMask account you’d like to connect to our platform and click Next. Then, click Connect.
Proceed to the next step once your wallet is successfully connected.
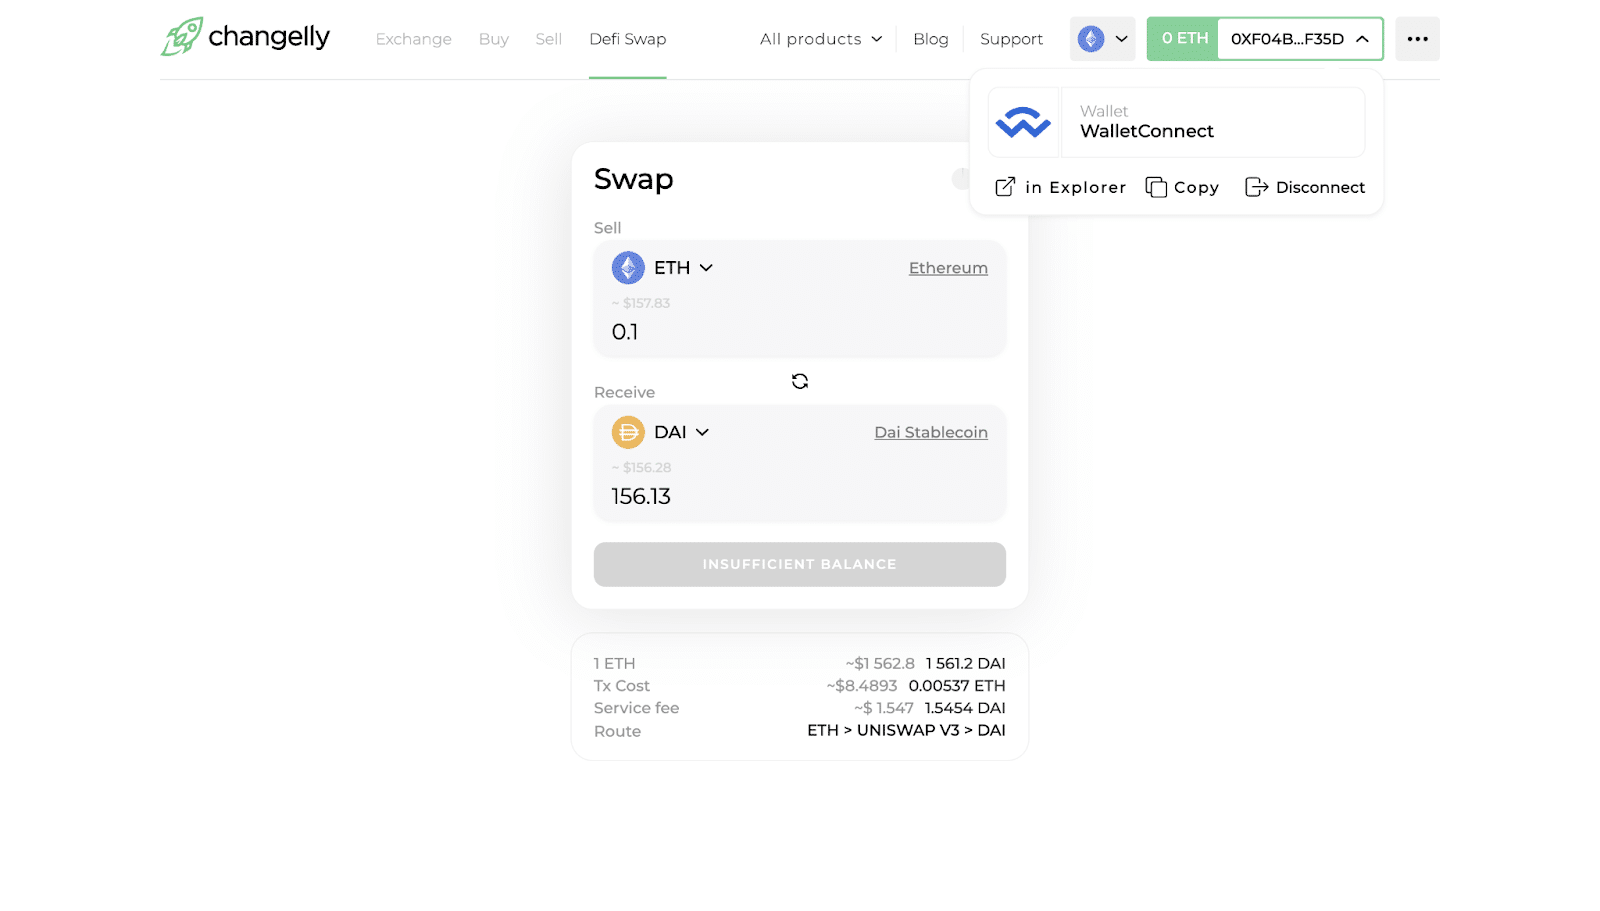
WalletConnect
If you have a WalletConnect-compatible wallet, you can use this option to connect it directly to our platform.
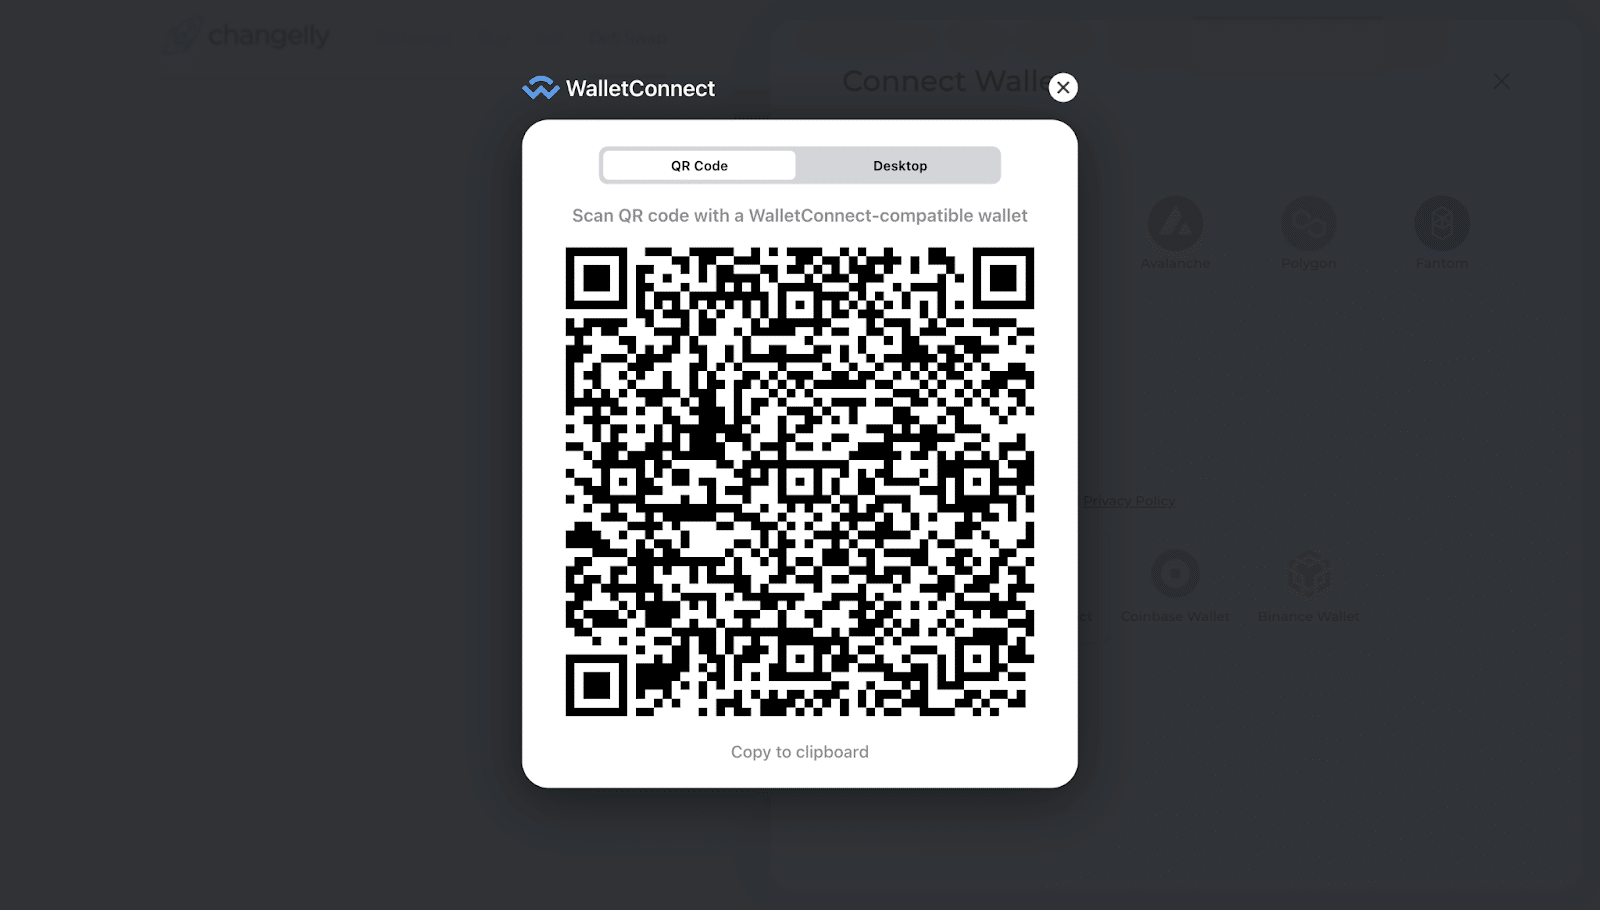
You will see a QR code — scan it using your chosen mobile crypto wallet.
If your wallet is compatible with WalletConnect, you will be able to find the “Connect with WalletConnect” button in your wallet app.
You might need to give the app permission to use your camera if it’s your first time using this feature. Scan the Changelly QR code via the pop-up camera screen and press Connect (or its equivalent in the wallet app of your choice).
If the scan was successful, you should see a pop-up similar to the one on the screenshot above. Click the Connect button to finish connecting your wallet to Changelly.
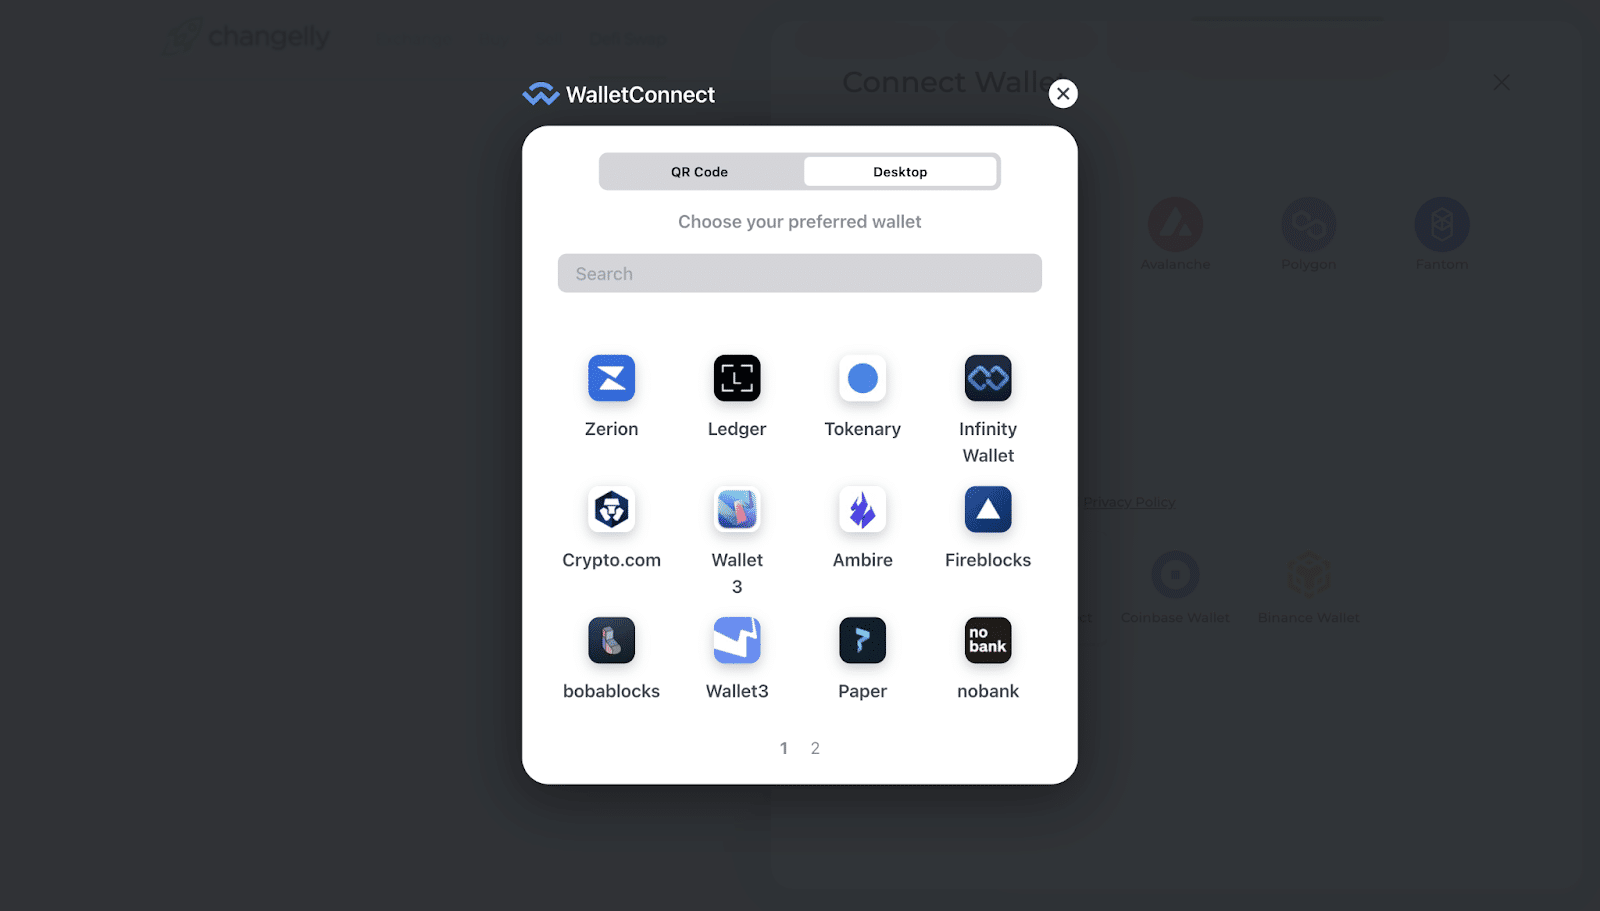
If your wallet does not have a mobile version, or if you prefer its desktop version, click on the Desktop tab. Find the wallet you’d like to use and click on its icon. You will be redirected to that wallet’s website — follow their instructions to connect your wallet to our DeFi Swap.
This is the screen you will see once you successfully connect your wallet via WalletConnect.
Step 3. Set up gas price and your slippage tolerance
While other transaction fees are fixed and already included in the amount you must pay, you can customize your gas fee. To put it simply, this is the money you must pay to push your transaction through on the blockchain: if the gas fee is too low, your transaction may take a long time to complete or may not go through at all.
You can go to the settings and choose how fast you want to complete the exchange. The higher the gas fee, the more you will pay in native currency, but the faster the transaction will be executed. We adjust the gas fee based on the network load and specify the approximate execution time of the transaction.
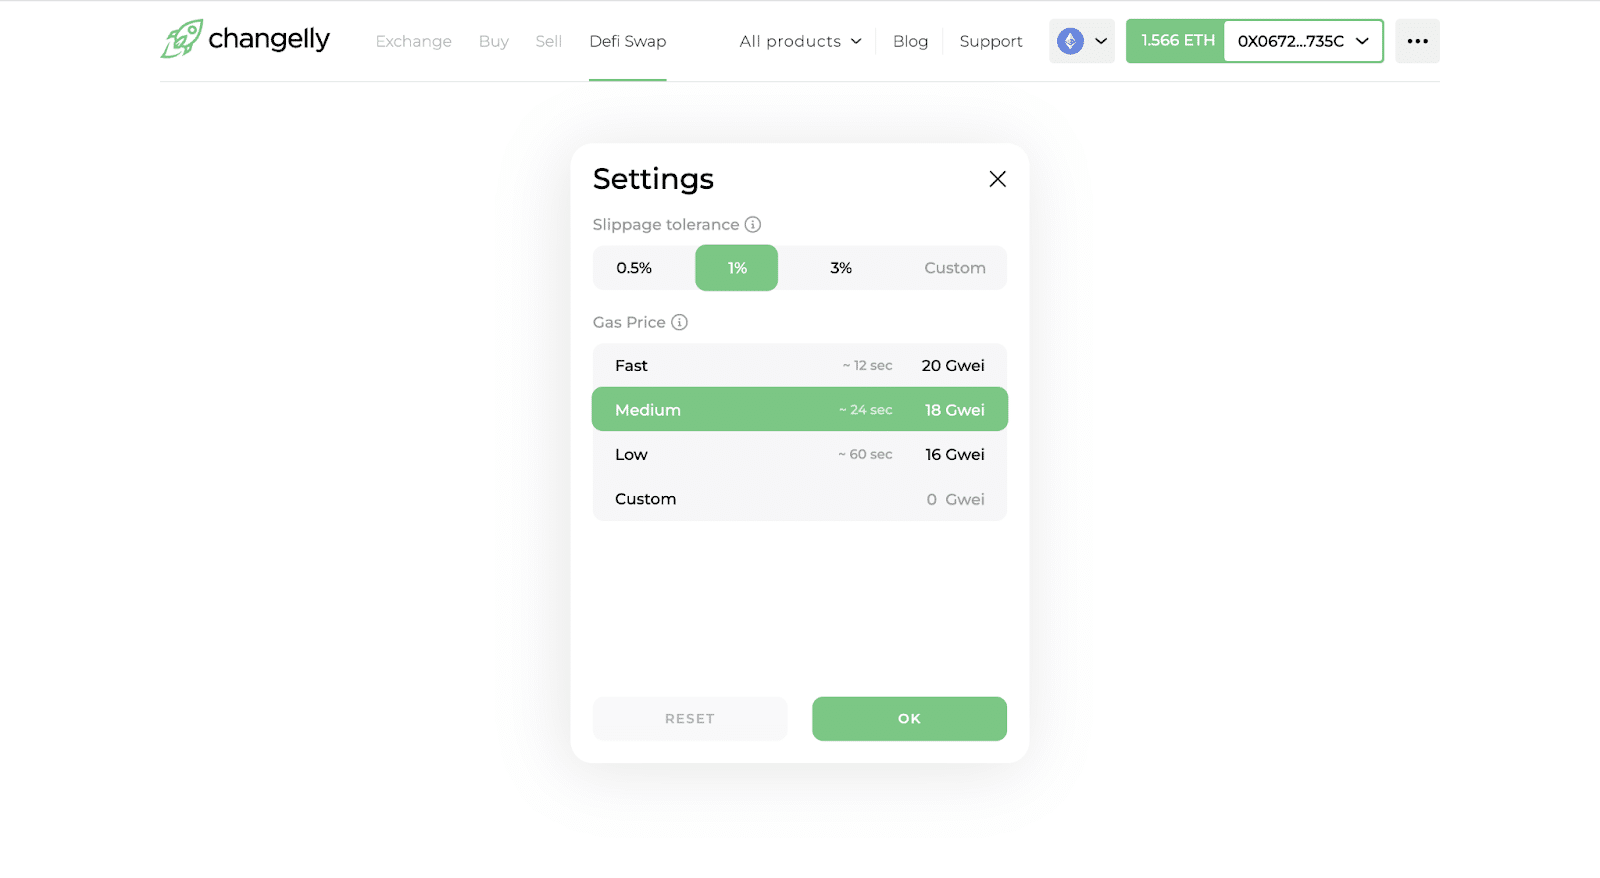
You can also customize your slippage tolerance. Slippage is the difference between the rate you see when initiating the exchange and the price at which it will be carried out. The optimal figure varies depending on the token, transaction, and your personal risk tolerance. When the slippage tolerance is set particularly high, the transaction can still be completed despite significant price swings. If the slippage tolerance is set too low, the transaction may fail (revert) if the price rises above the set percentage.
Please be extra careful when customizing slippage tolerance/gas prices. If the gas price you set is too low, the transaction won’t go through, and we won’t be able to refund the network fee.
Always double-check all the information you’ve entered and press “Swap” to proceed.
Step 4. Confirm the transaction in your wallet
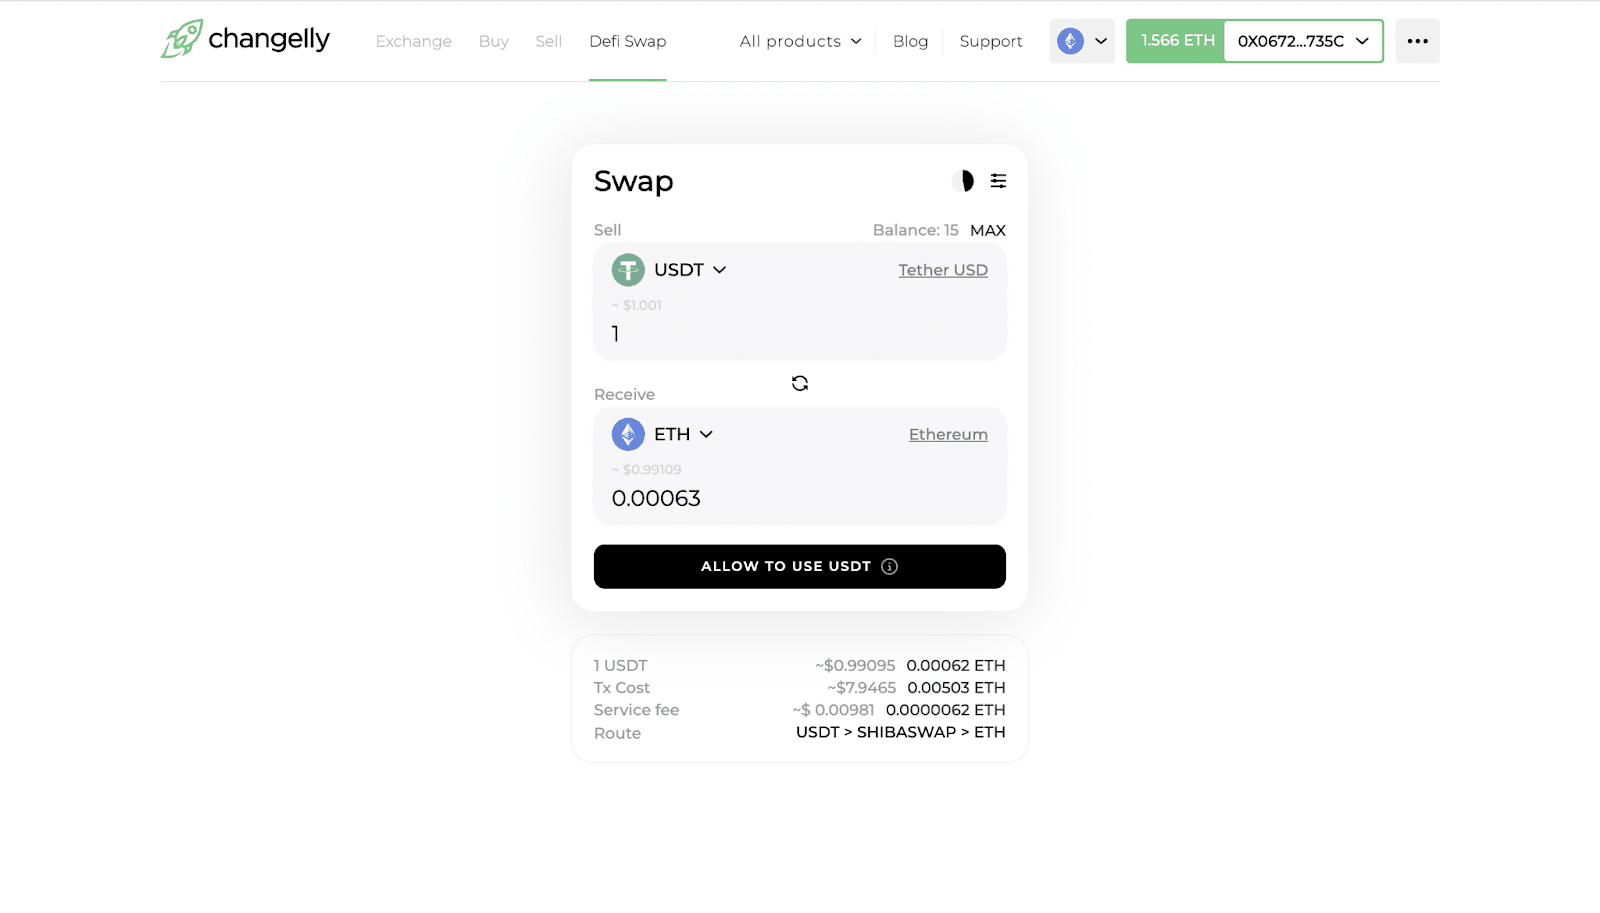
If this is your first time trading the particular tokens, you will need to authorize the transaction first. You will see a pop-up window asking you to give Changelly permission to access the tokens in your wallet. Changelly will ask for your permission each time you want to use a new token. Good news! If you swap a native coin (e.g. ETH, MATIC, etc.) for any other cryptocurrency, you will skip this step. Note also that you might have to pay a small fee for this operation that is charged automatically.
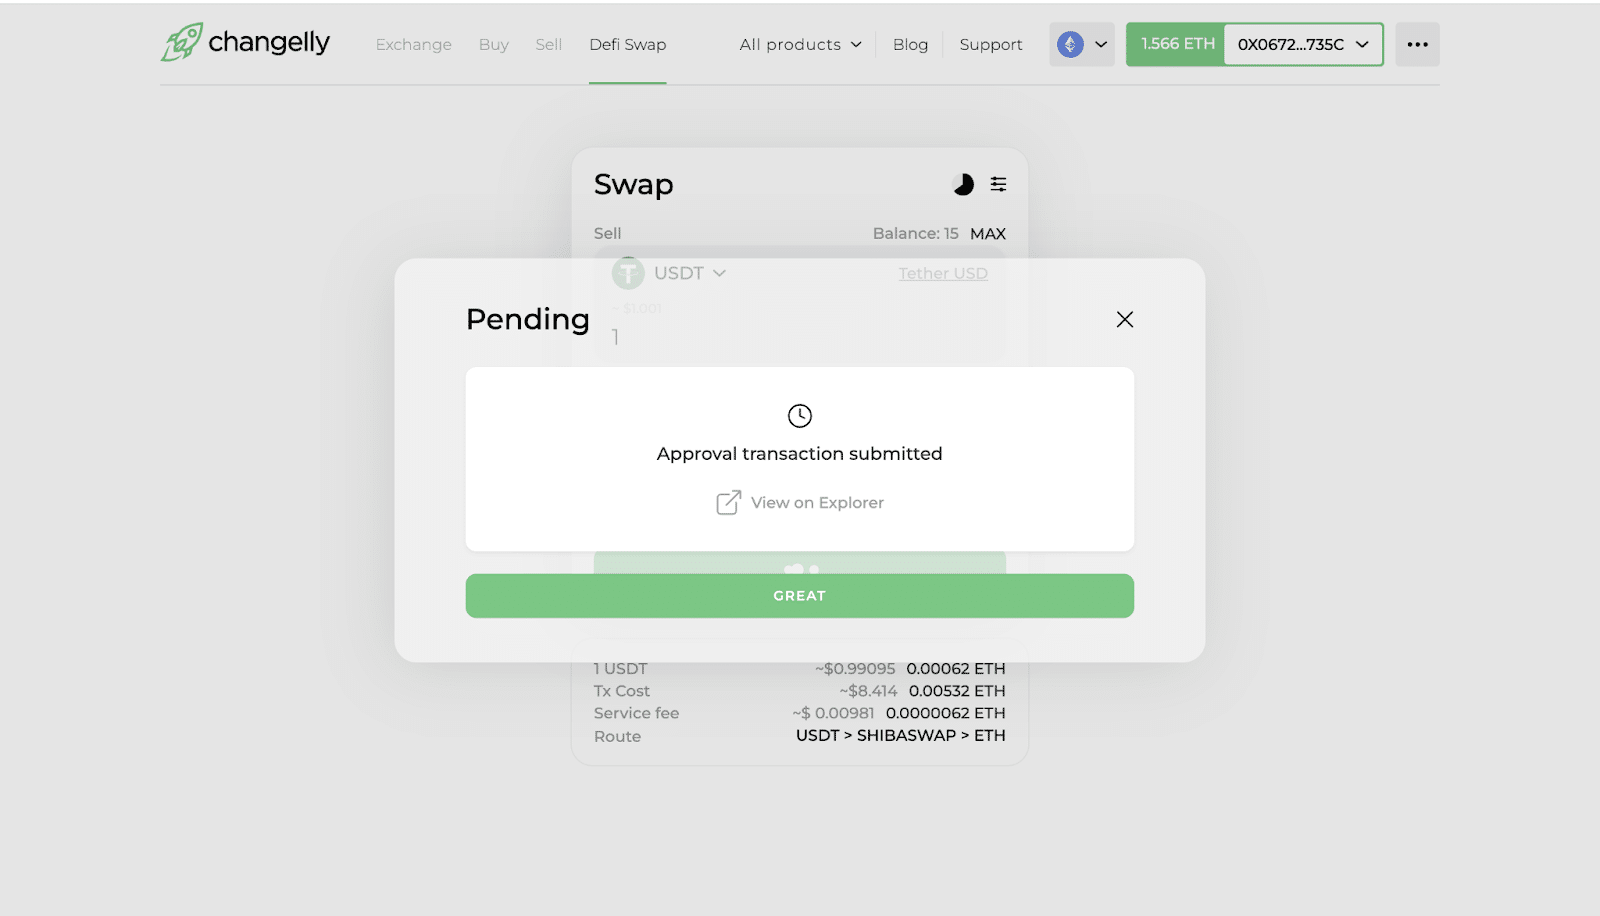
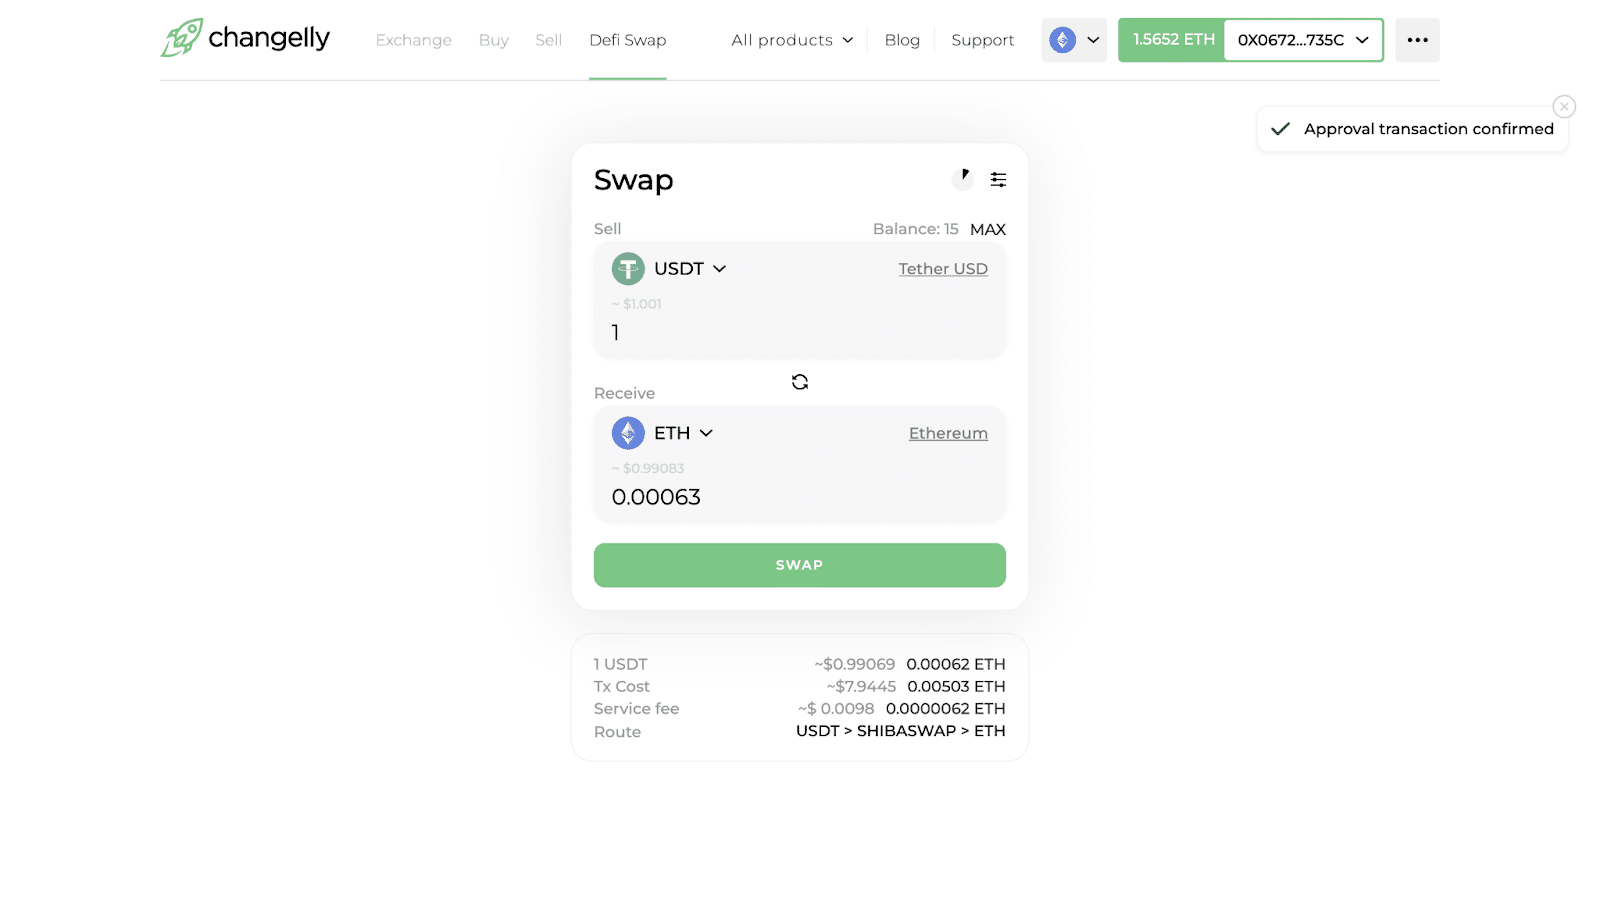
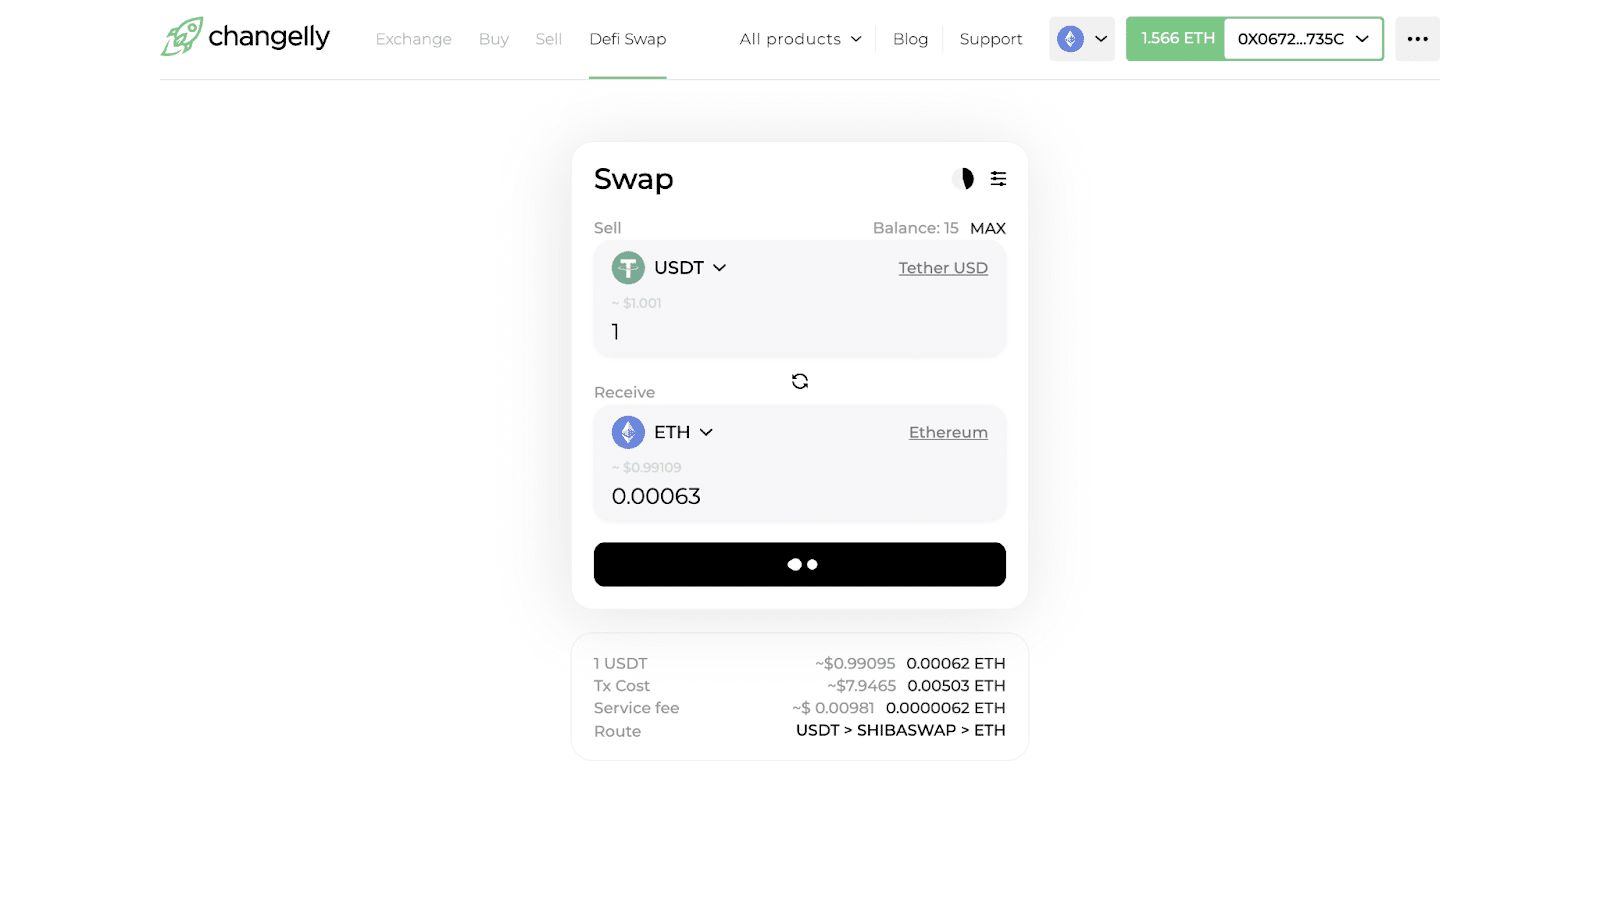
Once that’s done, you will need to sign the transaction in your wallet. It will open automatically — follow the onscreen instructions to proceed. If you’re using a mobile app, open it and confirm the transaction there.
Additional step: Add tokens to your wallet
This step is necessary if the tokens you mean to obtain do not display in your wallet. The mentioned situation can occur if you have never used tokens in your wallet.
In this case, you need to import them into your wallet manually. This can be done by clicking the “Import tokens” button.
Enter the token you want to add in the search bar that will appear. Choose the custom token from the drop-down menu and press “Next.” After that, click “Import token” to add the custom coin to your list of assets. And that’s it – your new token will now be added to your crypto wallet!
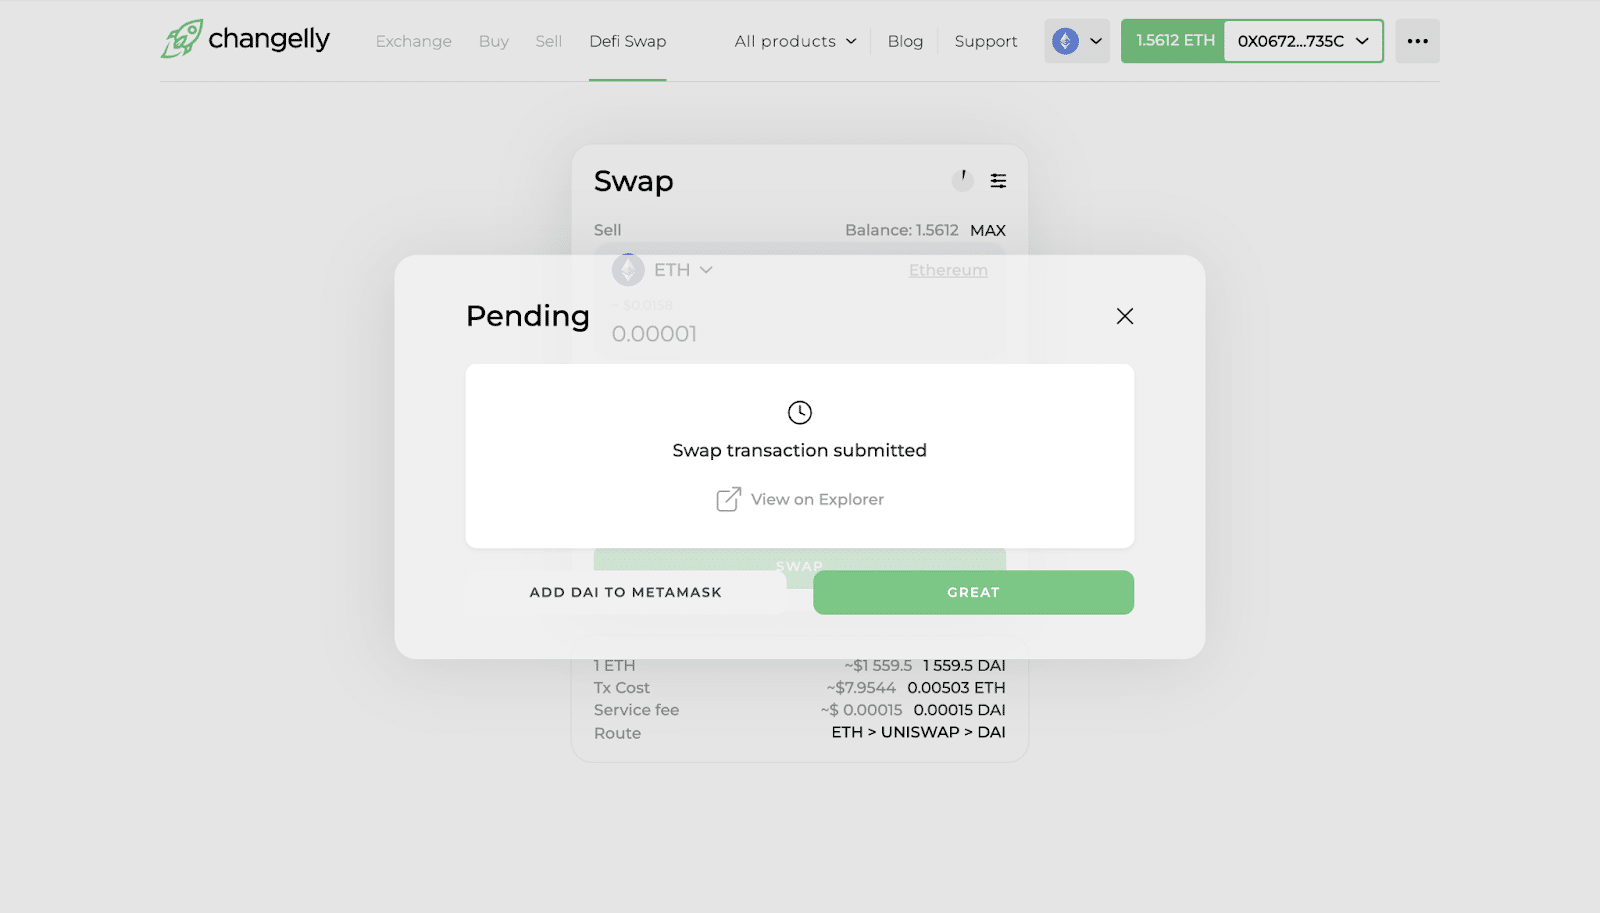
Step 5. Wait for the funds to arrive
All that’s left now is to wait. You can check your transaction status on the screen below, which will appear after you confirm the order in your wallet. Alternatively, you can also keep an eye on your transaction via the block explorer.
You will receive a notification once your transaction is completed. Enjoy your new crypto!
If you encounter any issues or if you’d like to clarify any questions, you can always contact our support team — they are here to help you 24/7. You can reach out to them via [email protected].
Disclaimer: Please note that the contents of this article are not financial or investing advice. The information provided in this article is the author’s opinion only and should not be considered as offering trading or investing recommendations. We do not make any warranties about the completeness, reliability and accuracy of this information. The cryptocurrency market suffers from high volatility and occasional arbitrary movements. Any investor, trader, or regular crypto users should research multiple viewpoints and be familiar with all local regulations before committing to an investment.